The main level, half bathroom has been torn out since before the floors went in. We’ve gone without a bathroom on the main level for months. (approximately 3 months & 21 days without a first floor bathroom, in a 2-story house, with a reminder that we had been living in a 1200 sq ft ranch for almost a decade.) It’s not ideal. We’ve been looking forward to having that finished for a long time now.
And … it’s finished!*
*kind of … I’m still waiting on the right escutcheon plate to cover the faucet holes, there are no window coverings, and the door is still not painted and doesn’t have the new hardware installed. BUT, other than that, it’s finished. And, it’s closer to finished than NOT finished, so I’m counting it. And, of course, we can USE it now, so that is a HUGE win!
We were planning to put the toilet and sink in ourselves … but (of course) there were issues. The flooring guys were not detail oriented when they installed the floors. Short version is that 1 of the screws is caught underneath the flooring and another one of the screws is sheared. Both will need to be replaced, and we’re not really equipped to cut the flooring or mess around with replacing the flange or any piping that might come with that (because no job is EVER as straight-forward as it seems when you start it). So, we just hired a plumber. It’s easier. Now he’s responsible for any damage. And, most importantly, he KNOWS how to fix it if things start going south, and can fix it right then and there. It’s an unexpected expense, but at this point (read: after the previous weeks with all of the Hadley closing mishaps), we’re going to throw some money at this problem and not deal with it ourselves.
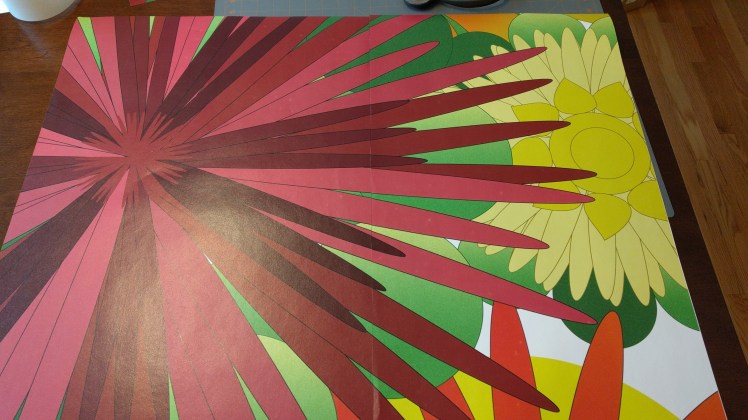
However, on a VERY positive note, I finished hanging the wallpaper on the top half of the walls! It looks AMAZING! It was the hardest wallpaper I’ve ever put up. Remember, I told you guys before that it’s custom printed for the exact dimensions of your room – so you don’t get any extra, and there is no repeating pattern to cut & match, and you can’t just order another roll if you need more. Plus, it is printed in panels. The panels are printed in the exact height you specified (with a little white space to cut them apart and trim once installed), and each panel matches up with the next. They are all labeled and you just install them in a clockwise rotation. This is all a genius way of ordering/buying/printing wallpaper, and also what made it very difficult to install in a small, 4-wall space with corners, windows, doors, and soffits. See, those panels, well, they are really designed to be installed as a mural, on a flat, rectangular wall – like a big picture wall. I ordered the correct, specific dimensions, but navigating those corners and soffit, and cutting the window and doorway out, well, that proved to be super tricky. A room that typically would have taken maybe a couple hours (like the bottom half did), well, it took me literally ALL afternoon into the evening. It. Was. A. Project. But also, so very well worth it!
The details … I received 1 roll with 13 panels. I put the panels in order and laid them on the table, so I could pick each one up as I needed it. The wallpaper came with specific glue for this type of paper, which needed to be mixed. These panels weren’t like regular wallpaper – it was all thick, printed paper; and it specifically stated to be careful dabbing with a wet sponge and getting glue on the printed surfaces. I was intimidated. But, my first piece was going on a flat wall, right behind the door, with no cuts. I applied the glue on the wall, and it went up pretty easily and I made sure it was straight and level before moving on to the 2nd piece. The next pieces were pretty easy too. But, then I got to the first corner … and this corner had the first of the window cuts too. So, the hardest part was twofold (haha, literally, see reason #2) – (1) the wallpaper is heavy and doesn’t slide on the glued wall, but also pulls off the wall if it’s not really pressed down … and (2) since it was thick paper, folding the top white area over, but also bending the corner down just really didn’t work. So, it was difficult (understatement). I had to cut a slit in the top of the wallpaper to get it to lie flat and line up the matching edges … but then I also had to trim the corner and crease the thick paper into the corner while making sure the edges were still lined up. It was just super finicky and meticulous work. Plus, add on top of all that, our walls and corners are not-even-close to square (but, the wallpaper needs to be straight & level for the design to all match up …).
It was a painstaking project. [But, one that was SO. WORTH. IT.]
When Patrick came home, and he heard my exhausted voice from behind the bathroom door, before he actually saw the bathroom himself … and he said he took a breath and just thought, “Okay, it was expensive and it probably looks not that great, but just be supportive and we’ll figure it out; it’s just wallpaper and not anything life-altering.”
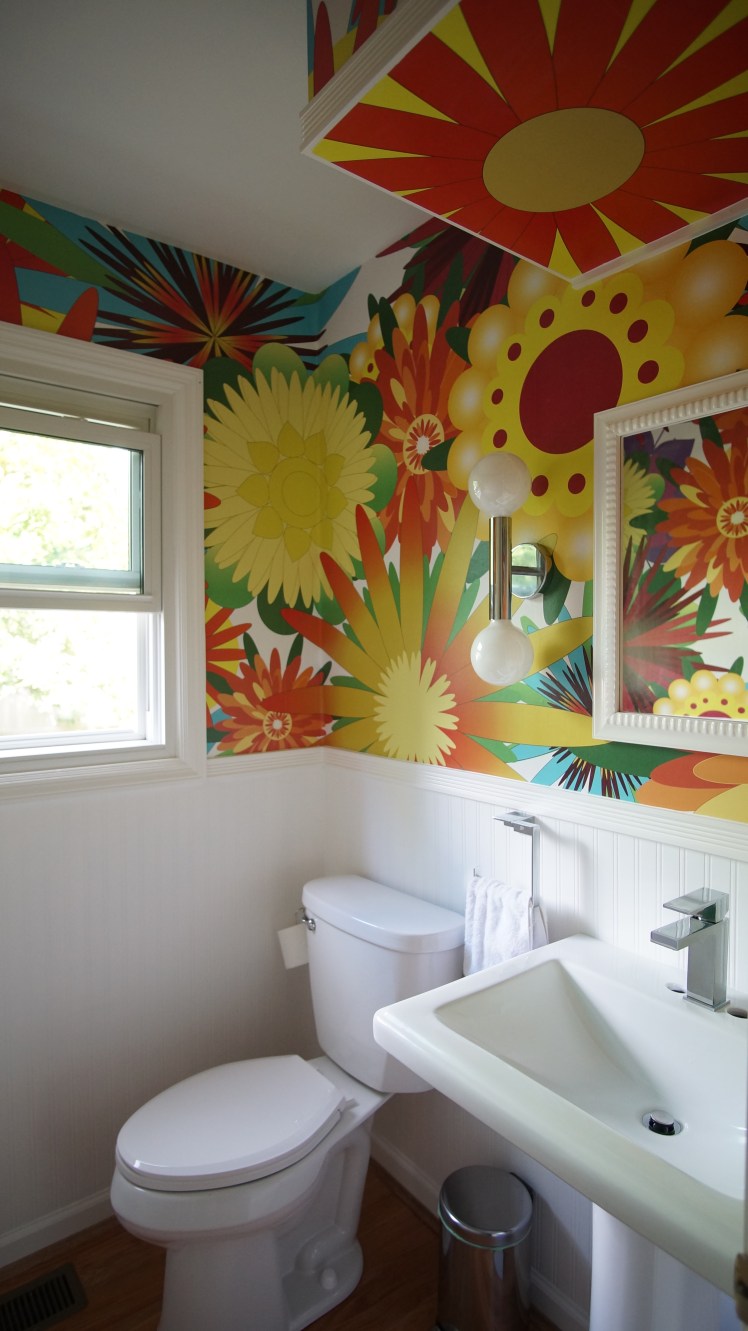
He walked in the bathroom and … He loves it. I love it.
Originally, I didn’t cover the bottom of the soffit with wallpaper … but Patrick suggested that if I had extra, we should do it. It’s low, and right above the sink & mirror, so the whiteness just sticks out like a sore thumb. I had a couple of large sections from the window & door cut-outs, so I picked the one I thought would be better and measured to put that there. I totally cut the wrong side of the wallpaper (it was 2 pieces that needed to be seemed together). There was NO way to salvage that piece. SO, I had to move on to the other flower I had left-over. It was brighter and I don’t like it quite as much … but it worked, and it does look way better covered!
It was absolutely the right call for the main level bathroom.
I installed the trim and painted everything just before the plumber came out to install the toilet and sink.
Hiring the plumber was absolutely the right call too. Even HE ended up having some issues while installing the toilet – rocking, screws in the wrong place, water pressure – so THAT was definitely money well spent. 😊
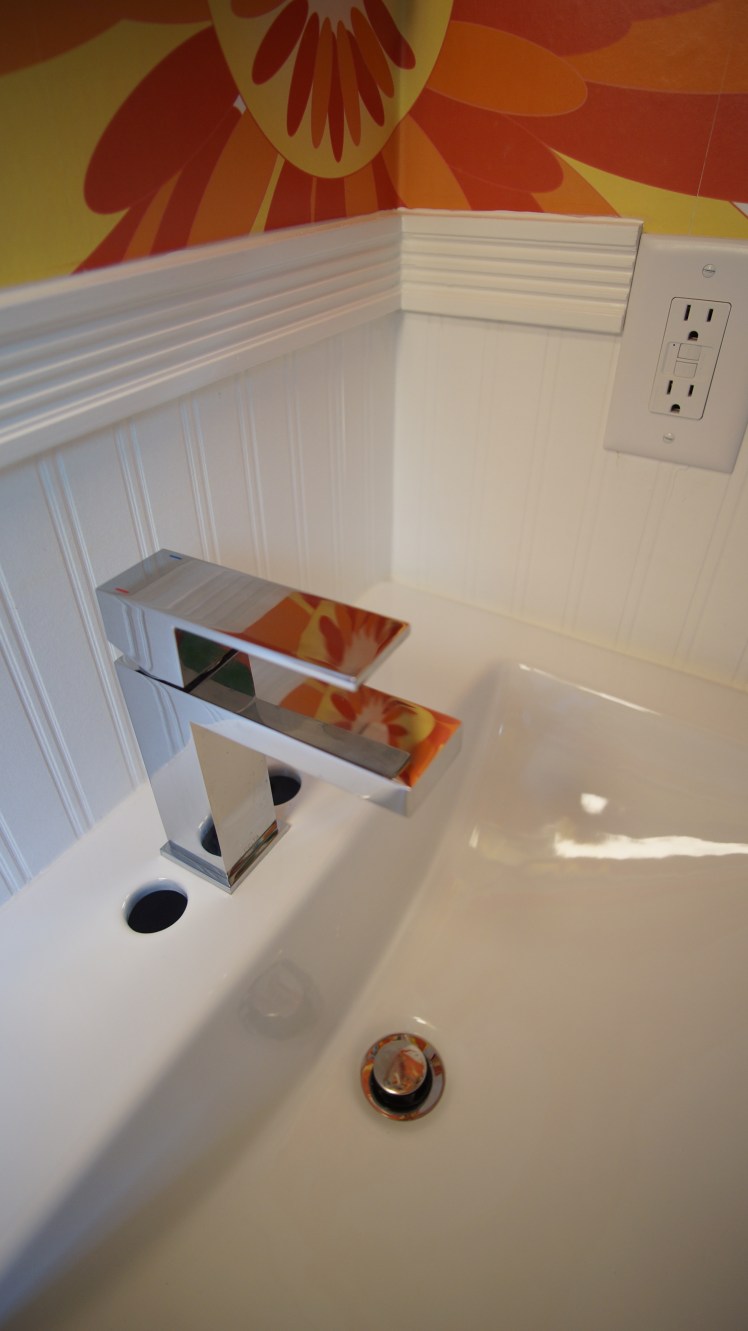
And, in true remodel fashion, where nothing can just go smoothly and even with our best intentions, we still don’t have a COMPLETED room (even with professional help). We ended up having the wrong plate for the faucet. Our new faucet is a single-hole faucet. The sink is a 4” spread faucet. So, we ordered the plate with the faucet (it didn’t come with), and it’s the wrong plate. We’re not sure if they sent the wrong plate or if Home Depot linked the wrong plate online … but either way, we had to order a new plate, directly from Delta. That plate was defective. And, now it’s on backorder. So, whenever that new, perfect, little plate shows up, we’ll install that ourselves.
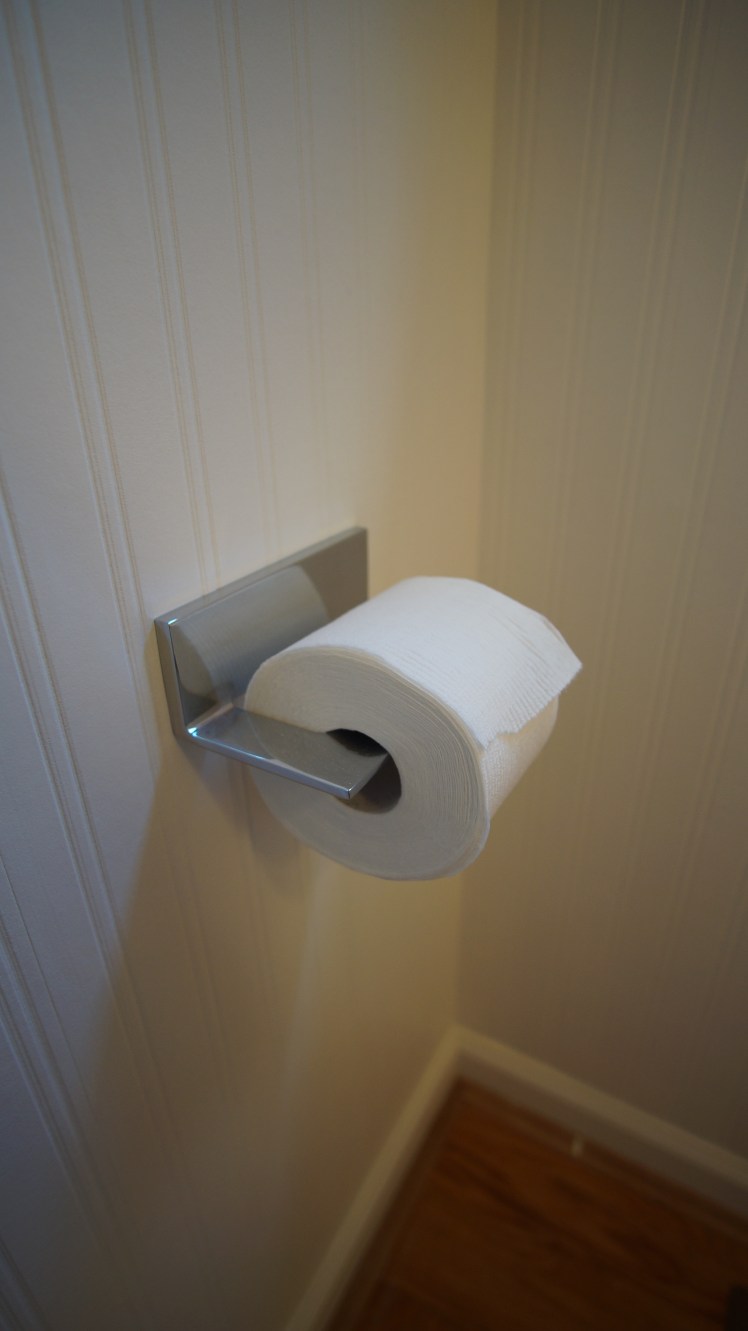
The toilet paper holder and towel holder both went up without issues (score!).
And, we’re planning to order window coverings this weekend … so hopefully within the next month, no one will be able to spy on us in the bathroom (from our private backyard, where they’d have to put a ladder next to the window to peer in … so, really, it’s just fine).
Also, the door needed to be sanded. For some reason, after they re-installed the door (after removing it to install the flooring), it no longer fit. It was fine for us because you can still close it, just not tightly or latch the door knob … but now that other people are starting to visit, well, we needed a door that actually closes so other people feel comfortable using the bathroom too. Y’all are welcome. 😉
Final Comment:
We have a functional (and very pretty) bathroom on the main level … and it’s all around AMAZING.
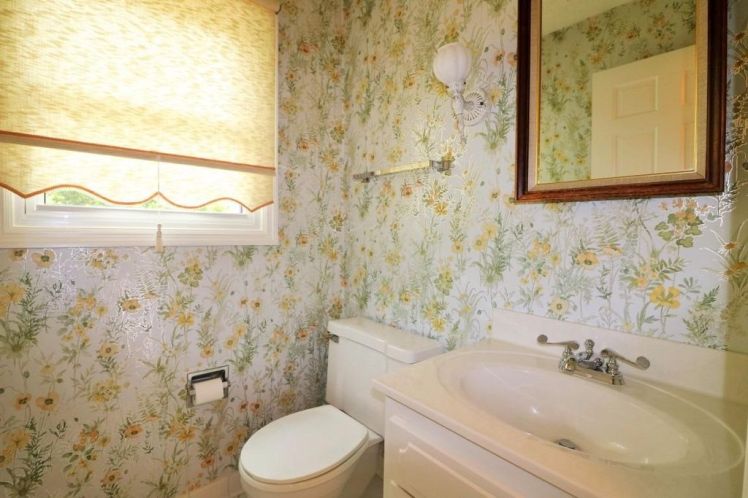
First, here’s the before shot … it’s been a while.
Now, the during & after.


Post Script.
I originally wanted to cover this bathroom floor to ceiling in this wallpaper. I was going to paint the ceiling a matching color from the print (not sure which one). That was the original plan, and Patrick was on board … until we put the dimensions into the website to order the wallpaper. I was on the fence. Patrick was a hard NO. “We are not spending that on bathroom wallpaper,” he said. In the end, I’m really glad it worked out this way.
I think the half walls are the exact right amount of wonderland for this bathroom. 😊

One thought on “The Half Bathroom, ✓”