So, continuing with the updates posts … here are some details we’ve checked off our list over the past few months. (Picture heavy post because the details are always the best part!)
(“Past few months,” because some of this work was started and completed back in September/October … or just started back in October and finished recently … or literally just started and completed these past few weeks.)
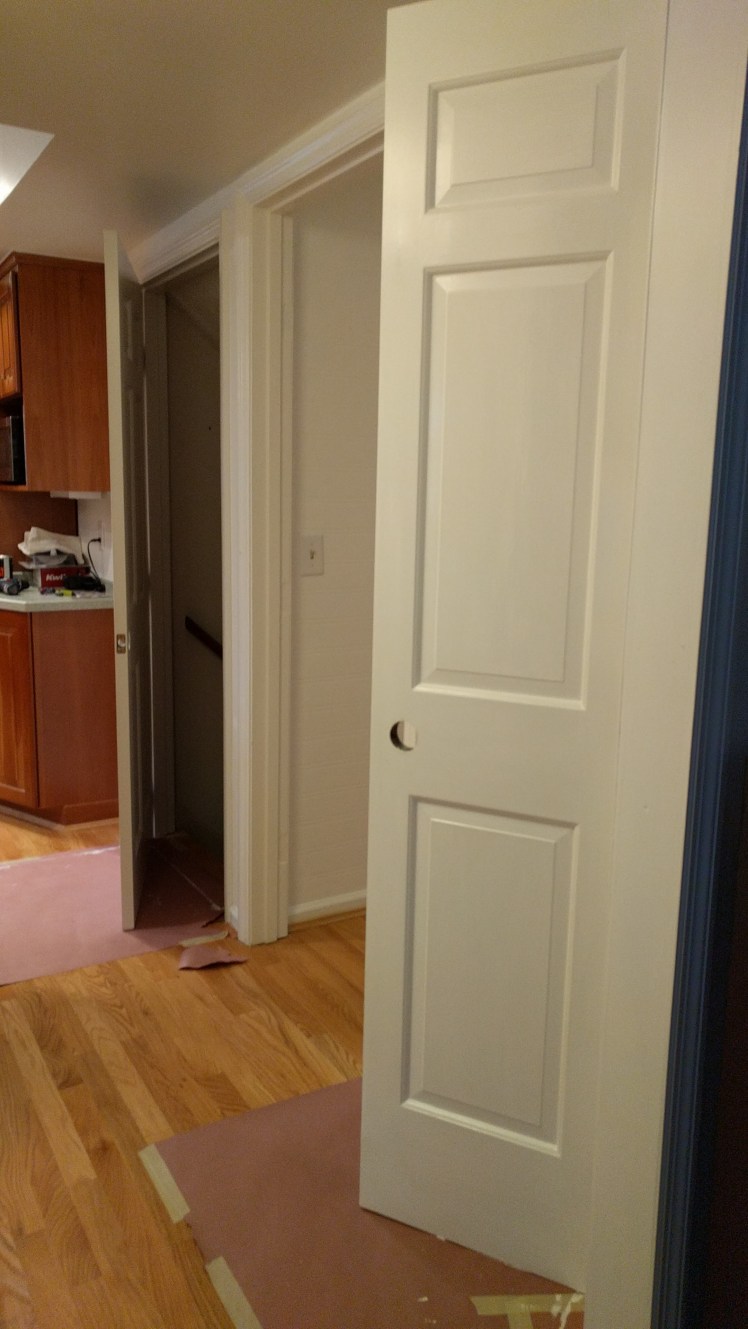
Main level doors & hardware.
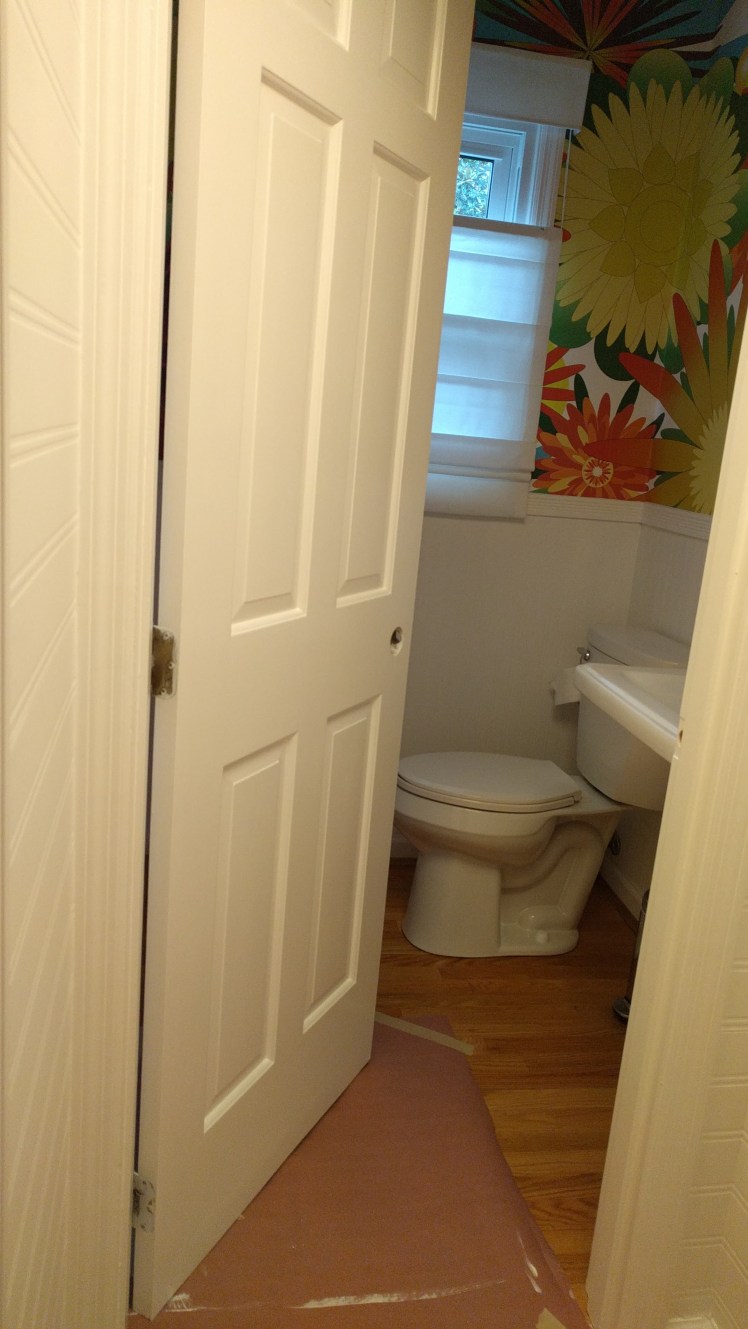
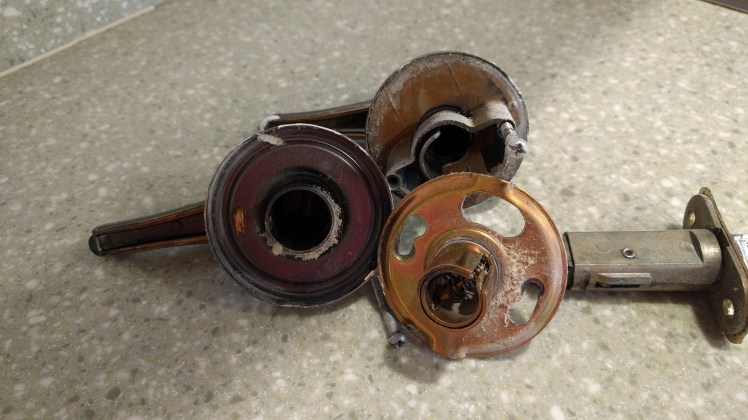
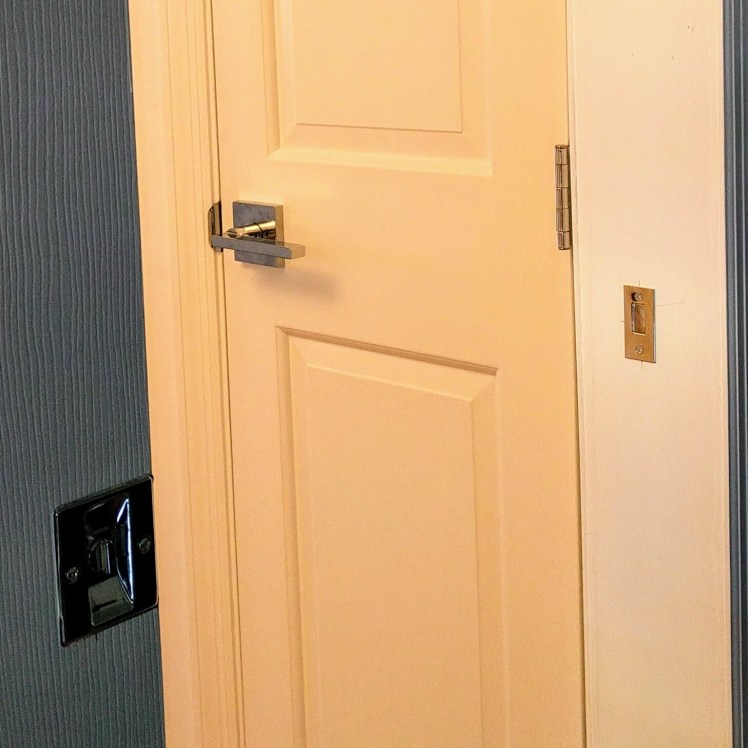
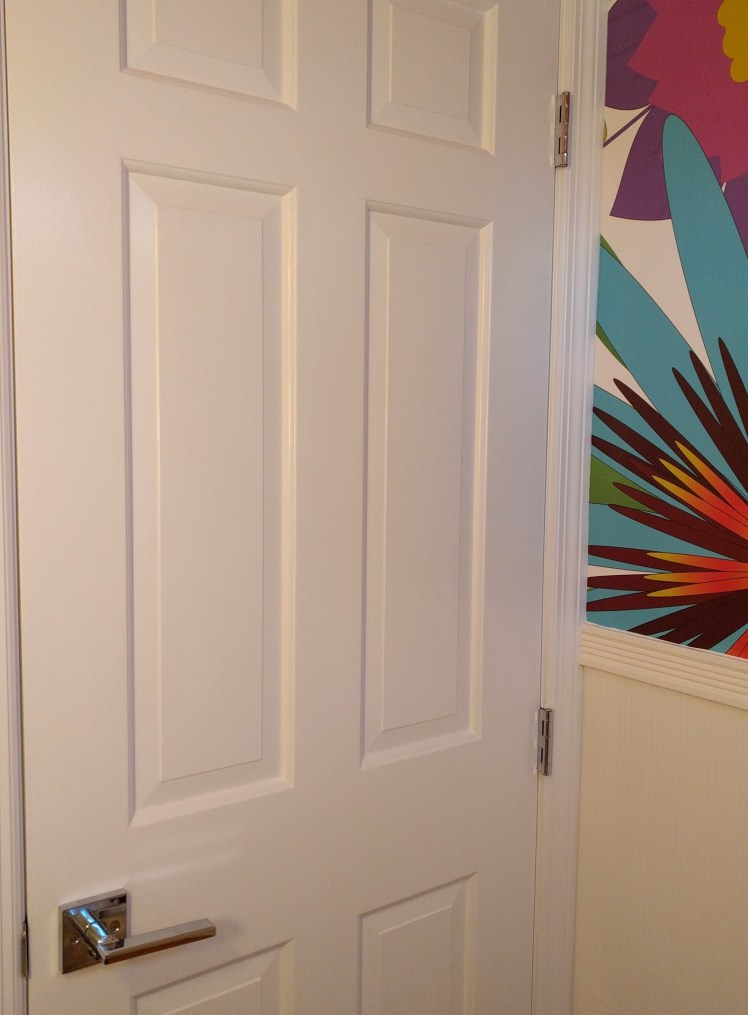
I painted the main level doors back in October. It made a HUGE difference! There were 3 doors (basement, pantry, bathroom) and 2 sliding closet doors (foyer). There’s actually a 4th door (pocket) that slides between the hallway and family room, but I painted that one back before we even moved in. I primed all of them one day … and then painted the trim the next day … and painted the doors on the third day. I left them up on the hinges, but removed the knobs. Then, over Thanksgiving weekend, I installed all of the door levers and hinges. I had purchased the door levers back over the summer, and we were lucky enough to find the chrome door hinges at Home Depot. Finding chrome matching hardware has been an ongoing struggle at this house. Most typical hardware stores carry it, but only online. Which was the case for the sliding door pulls. No luck at the store, only online. So, I ordered those, and they’ve taken 2 weeks to arrive. (Luckily, I was thoughtful enough to order enough for ALL of our closet doors at the same time, so we won’t have to go through that again!)
I also *finally* installed the pocket door hardware. It’s been purchased & sitting on our counter for about 8 months now. Cutting a big hole in that door was a little stressful – fixing the wrong cuts would not have been easy. It turns out it was pretty simple and I definitely patted myself on the back after that task.
It looks so much better on this main level – I can’t even express the difference these few details make.
See … (including a pic of our old, disgusting hardware, probably original to this 1970 house).


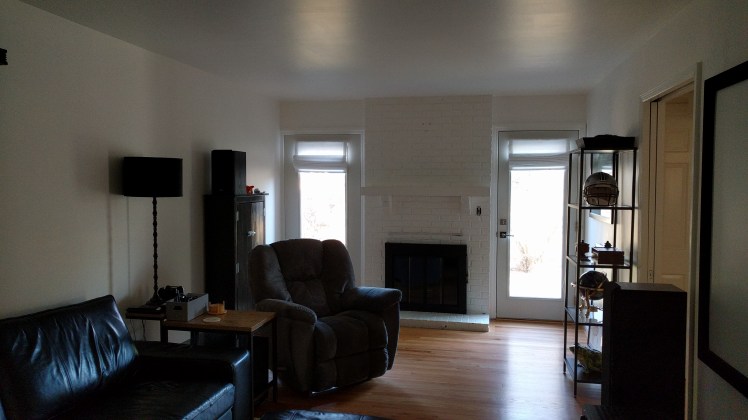
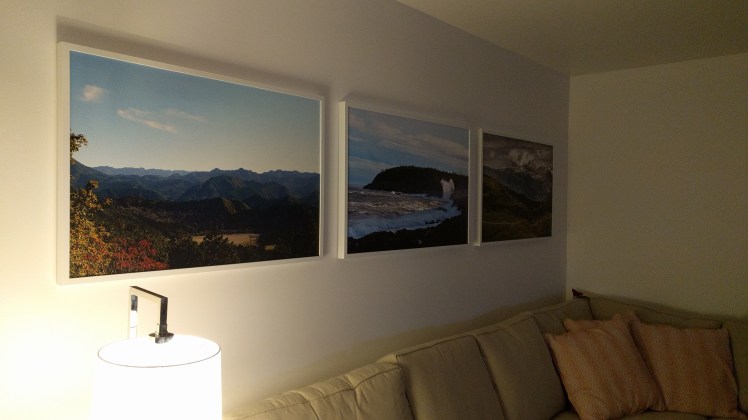
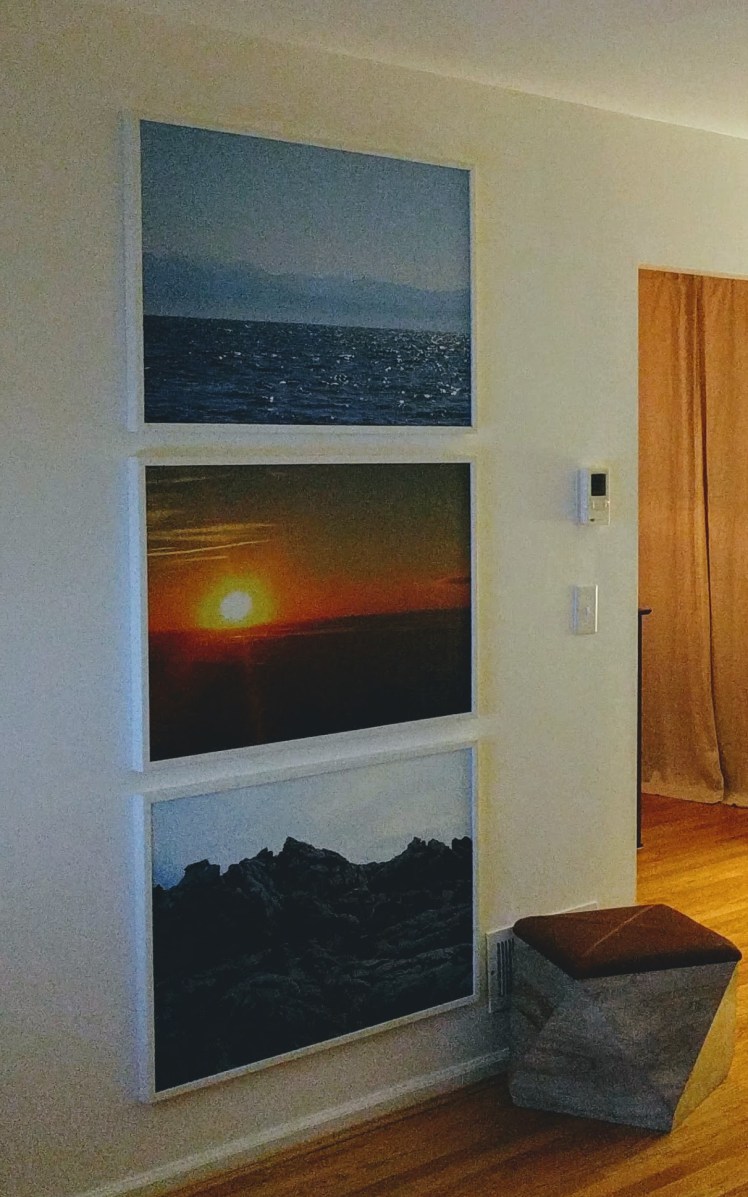
Living Room Art.
We finally hung something on the walls. I mean, literally. We have only hung 1 picture on the any wall in the entire house up until this past week. (And the picture we hung was one I purchased for Patrick for Christmas last year, so instead of packing it, I just brought it down here and hung it.)
I’ve known what I was going to hang on the walls since before we moved in – it is all part of my master vision for the décor in this house. But, before I could have the prints printed, framed, and hung, we needed to get more renovations completed and settle on furniture. We finally decided it was just time to finish all of this when we got home from vacation. So, I ordered the prints over Thanksgiving and we received them last week. They are all prints from places we’ve traveled, blown up, and printed on rolled canvas. I bought the frames, took out the (plexi)glass and put them all together … and, well, it looks great. Actually, better than I envisioned. 😊
We have also made great progress on finding new end tables, TV stand, and finishing up the LR details … but pictures of the finished room will have to come in a later post because things haven’t arrived yet – and will need to be assembled. (All not pictured, and I took the photos below before cleaning any stuff up – piles everywhere!)

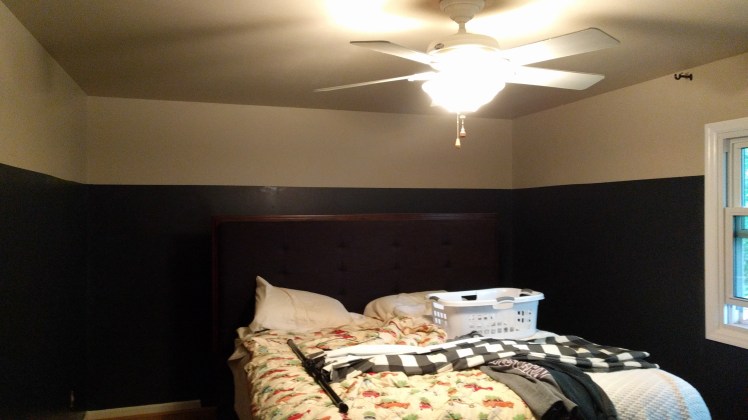
Master Bedroom updates.
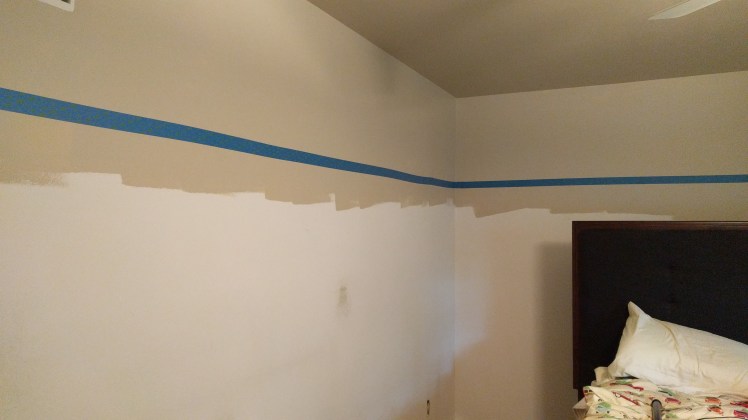
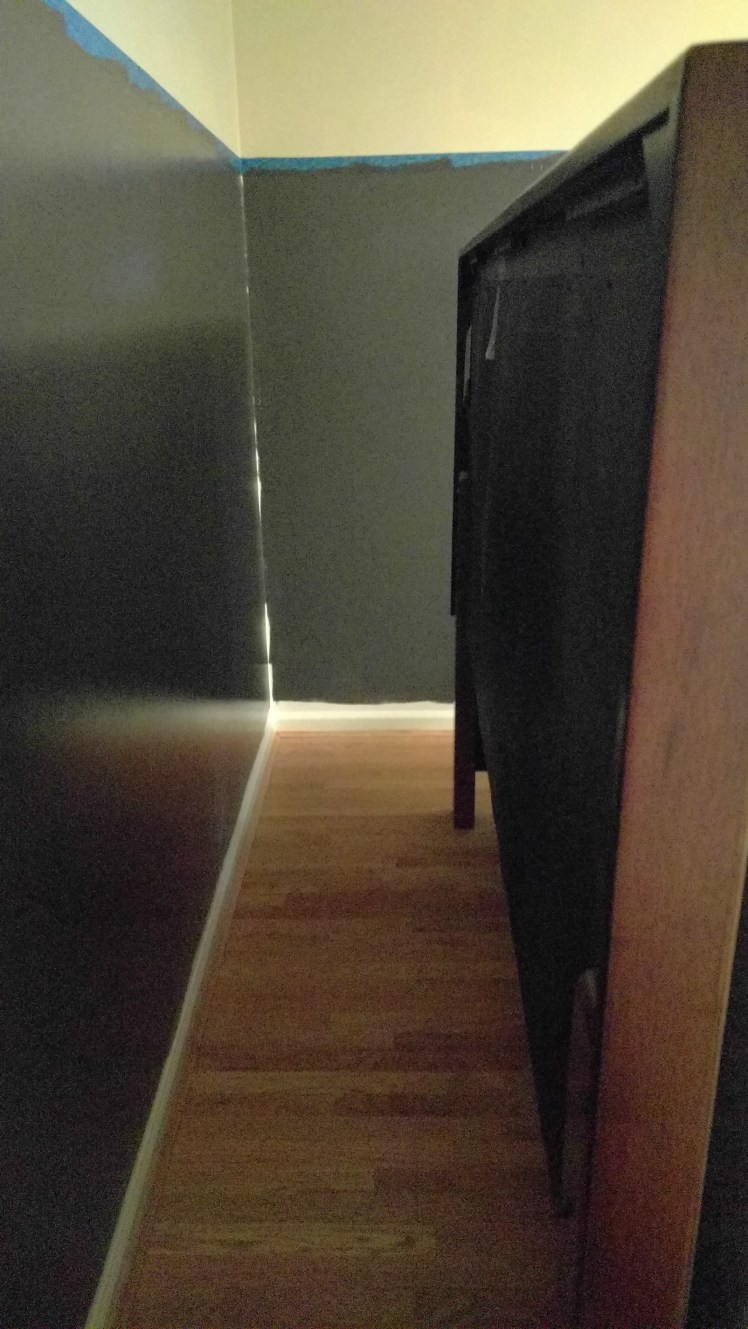
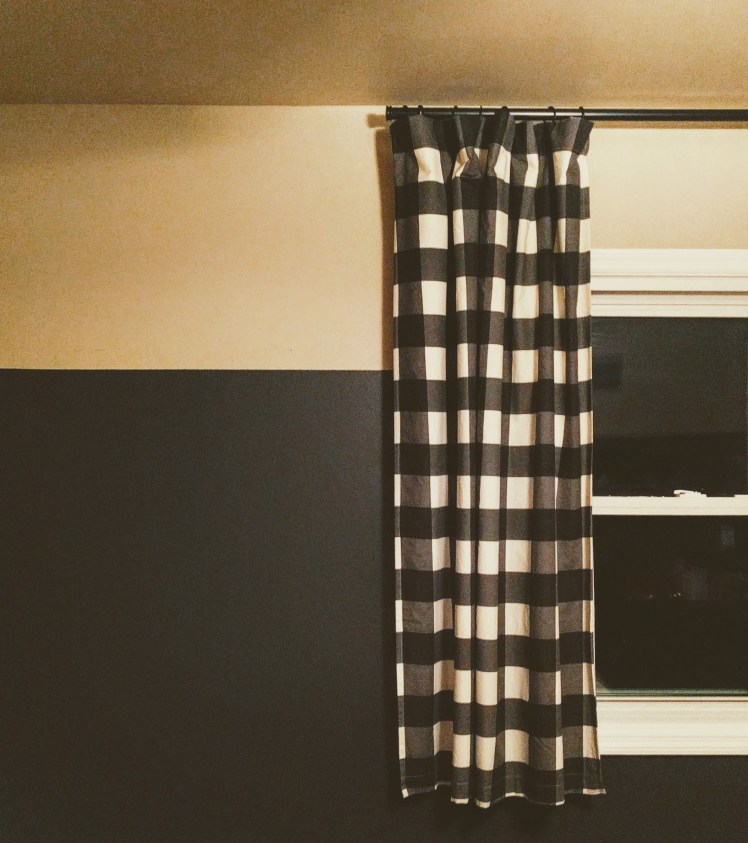
I finally painted the bottom half of our master bedroom. The top half and ceiling have been painted since way back before we moved in, before our new bed was delivered. And, the bed was plopped down right in the middle of the room, specifically so I could get behind it to paint the walls. Well, friends, I finally got around to painting it (back in October). I still need to put a piece of trim up, but I did tape it off before I painted, so at least it wouldn’t look horrible in the meantime. The line actually turned out pretty good too.
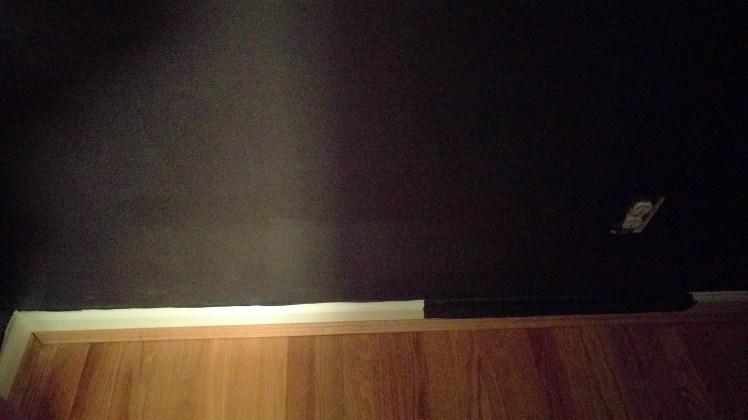
But, before painting the bottom half of the walls, I had a bit of work to do. A corner of the baseboard had pulled off, kind of a lot, so I had to repair that first. (And, since we had the floors installed over the baseboard, I couldn’t just install a new trim piece, and so it took a descent amount of caulk to repair this one!)
Then I had to paint all of the trim – and we have A LOT in the master bedroom … a double window, a door to the bathroom, a door to the bedroom, a single closet door, and 2 sets of sliding closet doors. And, because I now know and totally understand the power of primer, EVERYTHING got primed first. So, that means the trim was all painted twice. (I’m starting to remember why I kept procrastinating and never ended up painting the trim at the old house?!?)
After I painted the walls, I also ended up painting the baseboards black. Since the baseboards had already been painted white before the floors were finished, I had to cut into the baseboards with the black (twice, because it took a full second coat). And, while I was lying on the floor cutting into the baseboards (again), I thought, “This doesn’t look the best. The white baseboard really just pops too much and it’s too many colors on the walls. Maybe I should paint them black too?” I thought Patrick might actually hate that, so I just did a section behind the bed, so I wouldn’t have to repaint it if he did hate the black. But, I don’t know why I even bother – unless he really hates something or has really strong opinions about something, he just typically defaults to whatever I think is better. (“I can’t see the whole vision in your head, so I trust that you have a whole vision and it’s going to look good in the end … so just do whatever you think is best.” – that’s a paraphrased quote of his that is repeated over and over while we renovate any house.) So, after cutting in to the baseboards (twice), I got down on the floor again the following day and painted the baseboards (twice), cutting into the shoe molding (twice). But, it looks so much better all black.
The bed still needs to be pushed back against the wall. Maybe we’ll get to that this year still? 🤞
Plus, art, nightstands, rugs, etc. … and excuse the mess, everything just got piled up because I just didn’t feel like spending time to clean before I painted. In other words, this room is FAR from finished.


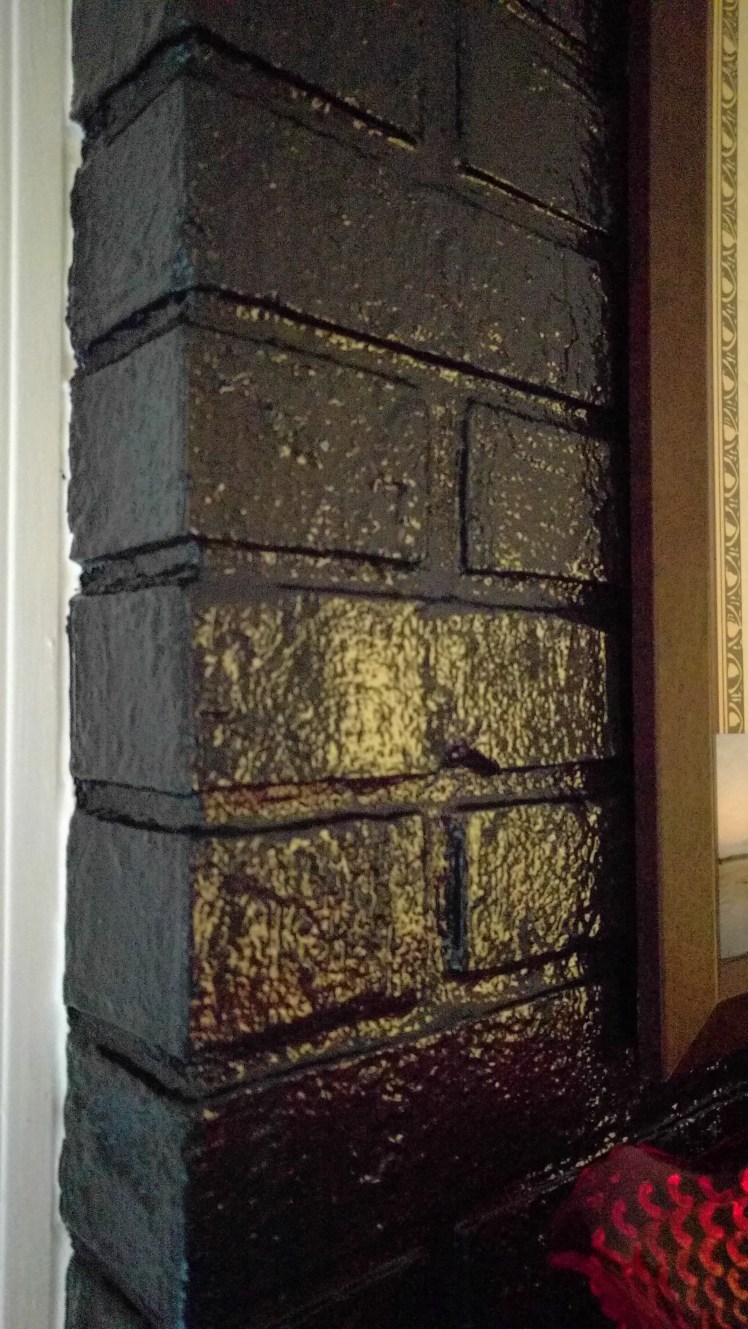
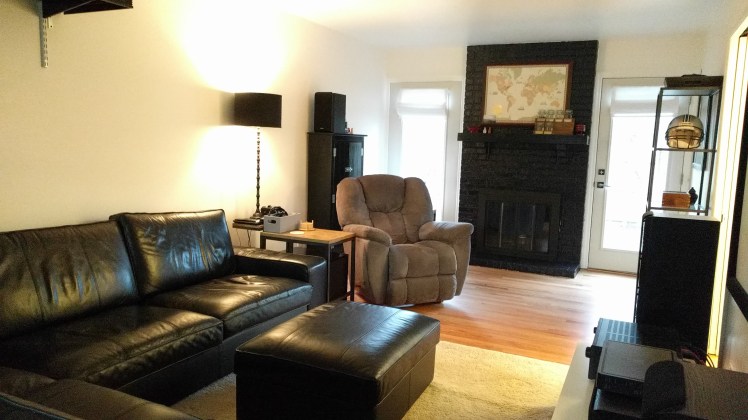
Fireplace Update.
Full disclosure, I am someone who would always prefer that all bricks stay unpainted. I feel like I can work around the look and pull it into whatever design I’m going for. BUT, these bricks were already painted, and we learned our lesson in our first house when we tried to strip the brick. Maybe if we had had time before we installed the floors and moved in, we actually could have done that here … but we had so much else going on that I just painted them, again. I went for a completely different look here, and painted all of the bricks in a high-gloss, black paint. The color was Valspar Kettle Black and the paint was Sherwin Williams All-Surface Enamel, High Gloss. It turned out beautifully. The gloss finish adds a bit of an artist look to the fireplace versus just being a black, painted brick housing. It just kicks it up a notch and adds a little flare, which in a white room with black fireplace, is definitely a good thing! Also, it makes such a difference in the room – how it feels, pulls it together, looks purposefully designed, etc.
(Are you noticing a theme here … the details are making the house feel like our home … it happens every. single. time. It’s ALWAYS in the details!) Anyway, we both love it.